In the current climate of social distancing and transitioning in-person events to online, event planners are not the only ones reeling to make their virtual events successful. Public speakers have had to adapt their content to meet the needs of virtual audiences as well. Understanding how much harder it is to convince virtual attendees to pay attention, speakers need to adapt from creating just a presentation to creating an experience, they now must hold the attention of their audience, not just grab it.
You cannot simply copy and paste a live-event presentation to a virtual one. In order to craft an experience, all of the planning a presenter does must correlate to virtual delivery. But don’t panic, our team has created a list of do’s and don’ts to help speakers prepare for their virtual presentations and build an experience for their attendees.
LIGHTING
 Proper lighting practices are crucial to looking professional. Video quality drops significantly when filming in a poorly lit room.
- Spend a few minutes looking for a room or space you plan to present from that has the best lighting. Generally speaking, look for some soft, natural, diffused lighting – if you are limited to what you have available for supplemental lighting, then sitting in front of a window with the light hitting you from the front will be your best option here.
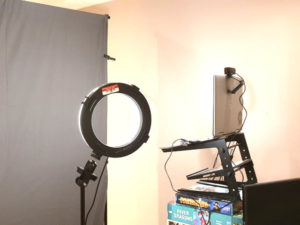
- Use supplemental lighting – use two LED lights set up in front of you (to the right and left). If you have two lights, try to create an equilateral triangle between you and the two lights. This may take some brief experimentation as you find the best possible setup.
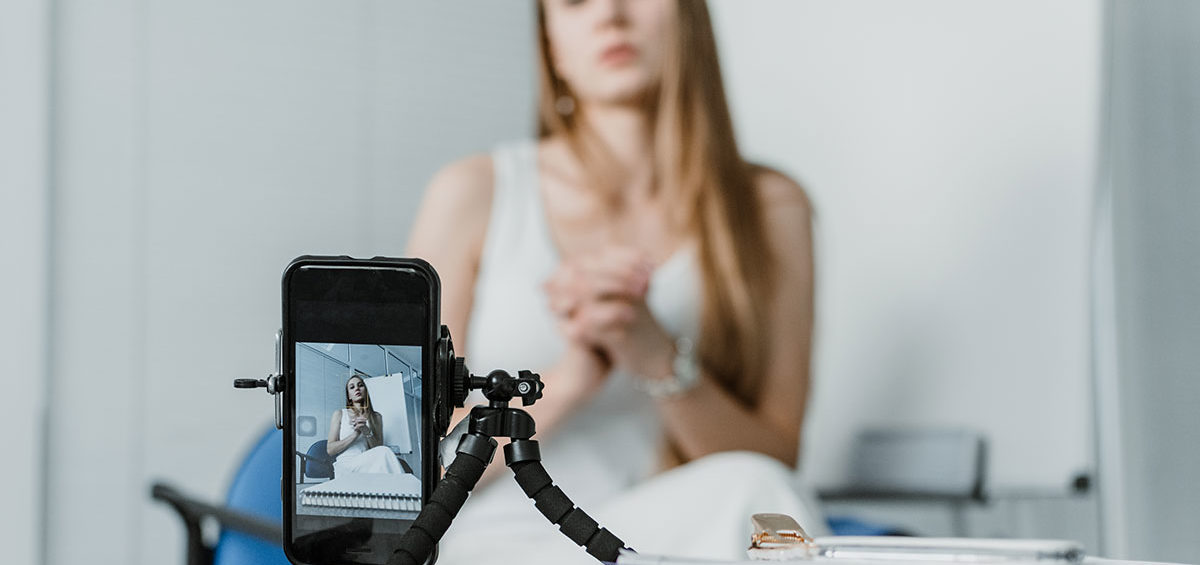
- Turn on the camera on your cell phone, point it toward yourself and walk around your space to identify where you look the best – then experiment with different positions at that spot to find your best angle(s)
- Avoid full-on direct sunlight – this will overexpose your image, or wash out your face, making you too bright to see.
- Avoid overhead, side, and rear lighting if possible. This will create unflattering shadows and darken up your face. Remember, the goal here is to make sure that you, the presenter, are the focus of what is in the frame.
CAMERA ANGLES
Picking a camera angle is important when trying to look your best on camera.
- Raise your camera up so that it is at, or slightly above, eye level with you while comfortably sitting or standing. If you are using a laptop to capture your presentation, then place it on a platform (a box, table, etc.) to raise it up to an appropriate level. When the camera is slightly above eye-level, this helps to keep your eyes open, and your chin up.
- Try to remain in place – avoid moving around too much. Remember that your lights can’t follow you around, so stay within the zone that you have allotted for yourself.
- Sit/stand within arm’s length of your laptop. Most webcams have a wide-angle lens – if you are too close to the camera, the lens will distort the image creating a fisheye effect. 3’-4’ away from your camera is ideal, about from the chest up.
- Make sure to leave a little headroom in your frame with a little bit of space in between the top of your head and the top of the camera shot.
- The Rule of Thirds: try to imagine your frame split into horizontal thirds. Aim to have your eyes at about 1/3rd of the way from the top of the screen, leaving just the right amount of room between the top of your head and the top of the frame.
- Look into the lens! Try as much as you can to look directly into the camera as you are speaking, otherwise it can distract viewers. Eye contact, even virtually, is what connects you to your audience.
AUDIO
 Capturing quality audio is paramount to a video presentation. If no one can understand what you are saying, your recording will not be of value to anyone viewing.
- Use a USB microphone if you have one as they are typically higher quality and will capture audio with more richness and clarity. These are digital microphones compatible with your laptop and powered by USB. They may require a firmware download, but most computers will automatically install it.
- Set up your mic within 6”-12” away from your mouth if possible.
- Pick a room in which you will be alone and reduce any outside noise as much as possible (don’t forget to close any windows).
PERSONAL APPEARANCE AND BACKGROUND
No need to go overboard here, but please do put a little bit of thought into what you are wearing in your video.
- Make sure to take a few minutes to clean and tidy anything that will be in the background of your video. Messes can be a huge distraction from your presentation.
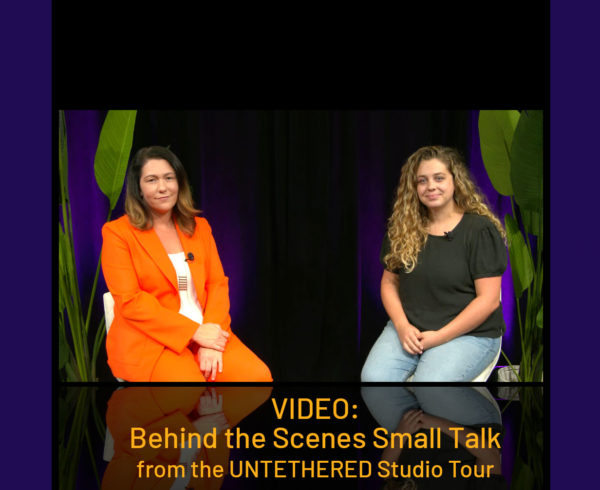
- If you are part of a panel where there will be multiple people on at the same time, it’s best to fill the frame as much as possible with your headshot and show as little background as possible. As your image on the viewer’s screen gets smaller and the number of things they are viewing at the same time increases, the more a presenter needs to focus on the headshot.
- In general, bright colors and white clothes, all of which reflect lots of light, are not the best choices. Instead, opt for cooler colors, and preferably muted earth tones or blues.
PRACTICE!
Give yourself the opportunity to run through your entire presentation a few times before you hit record or go live. One of the most difficult things for a remote presenter is bringing the energy that would naturally happen in front of an audience to their presentation. It will feel awkward and forced at first – because it is. This is why practice is SO IMPORTANT. Your audience is not able to attend in person, so it falls to the speaker to manufacture that experience. It’s an added dimension that a speaker has to develop in their presentation, but the increased engagement and retention of the message make it well worth the time and awkwardness.
For many people, seeing themselves on camera can be an uncomfortable experience that takes some time to get used to. Run through your presentation and get accustomed to being recorded. This will give you the opportunity to play it back and make any lighting, camera, or audio adjustments.


